


Raw cultured vegetables have been around for thousands of years. The fermented vegetables are: rich in lactobacilli and enzymes, alkaline-forming, and loaded with vitamins.
Cultured vegetables are made by shredding vegetables, adding a culture starter, and then packing them tightly into a sterilized, airtight, glass container. They are left to ferment at room temperature for 5 days or longer. Friendly bacteria naturally present in the vegetables quickly lower the pH, making a more acidic environment so the bacteria can reproduce. The vegetables become soft, delicious, and have a slightly pickled taste.
You can benefit by adding cultured vegetables to your diet because they:
- Help re-establish a healthy inner ecosystem.
- Stimulate digestion and ensure your food moves through your digestive tract with ease. Cultured vegetables are pre-digested through the fermentation process and are easy for the body to digest.
- Are alkalizing and very cleansing. They help restore balance if your body is in a toxic, acidic condition.
- Promote healthy skin and anti-aging.
Sunshine Blend Cultured Vegetables
- 1 pound organic carrots, scrubbed and trimmed
- 1 bunch golden beets, peeled
- 1 large or 2 small sweet potatoes
- 2 medium onions, peeled
- 1-2 organic cucumbers
- 1 bunch celery, cleaned and trimmed
- ½ bunch cilantro, washed and drained, stems removed
- 1 large or 2 small heads of cabbage, washed (make sure to hold aside at least one leaf of cabbage for each jar of cultured veggies)
- fresh grated ginger to taste
- 1 Granny Smith apple
- honey
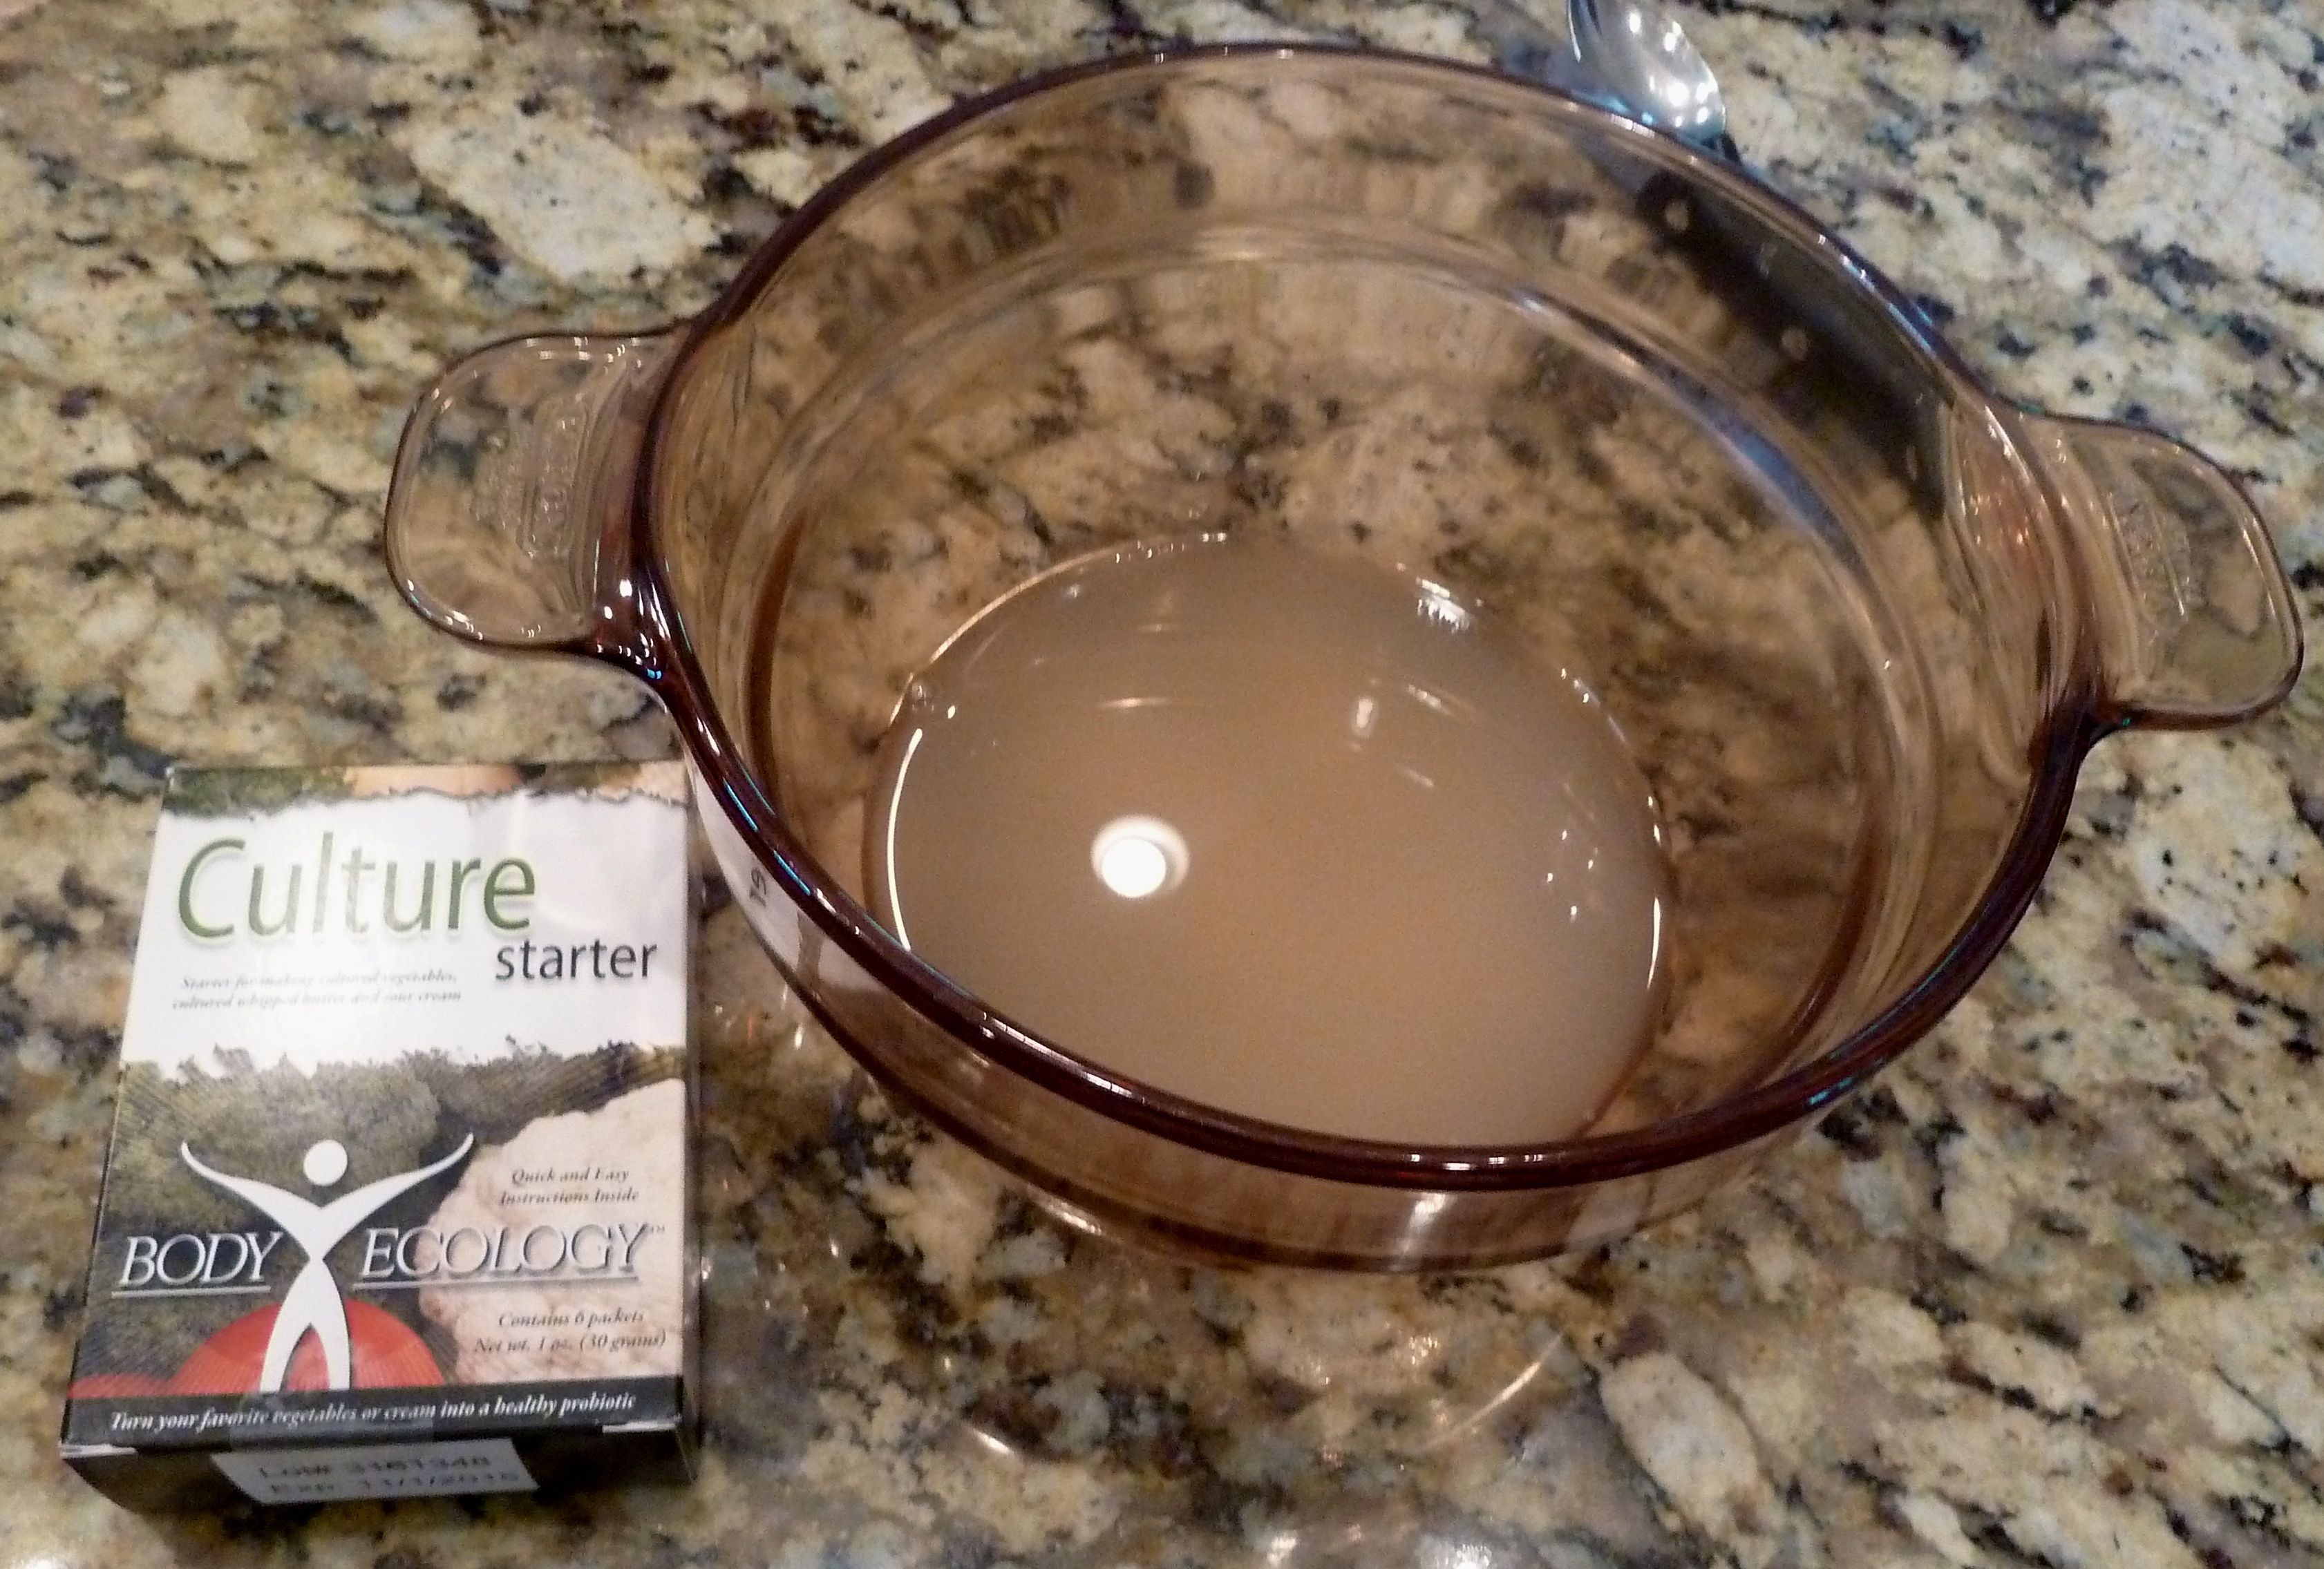
- Body Ecology culture starter
- distilled water or RO water
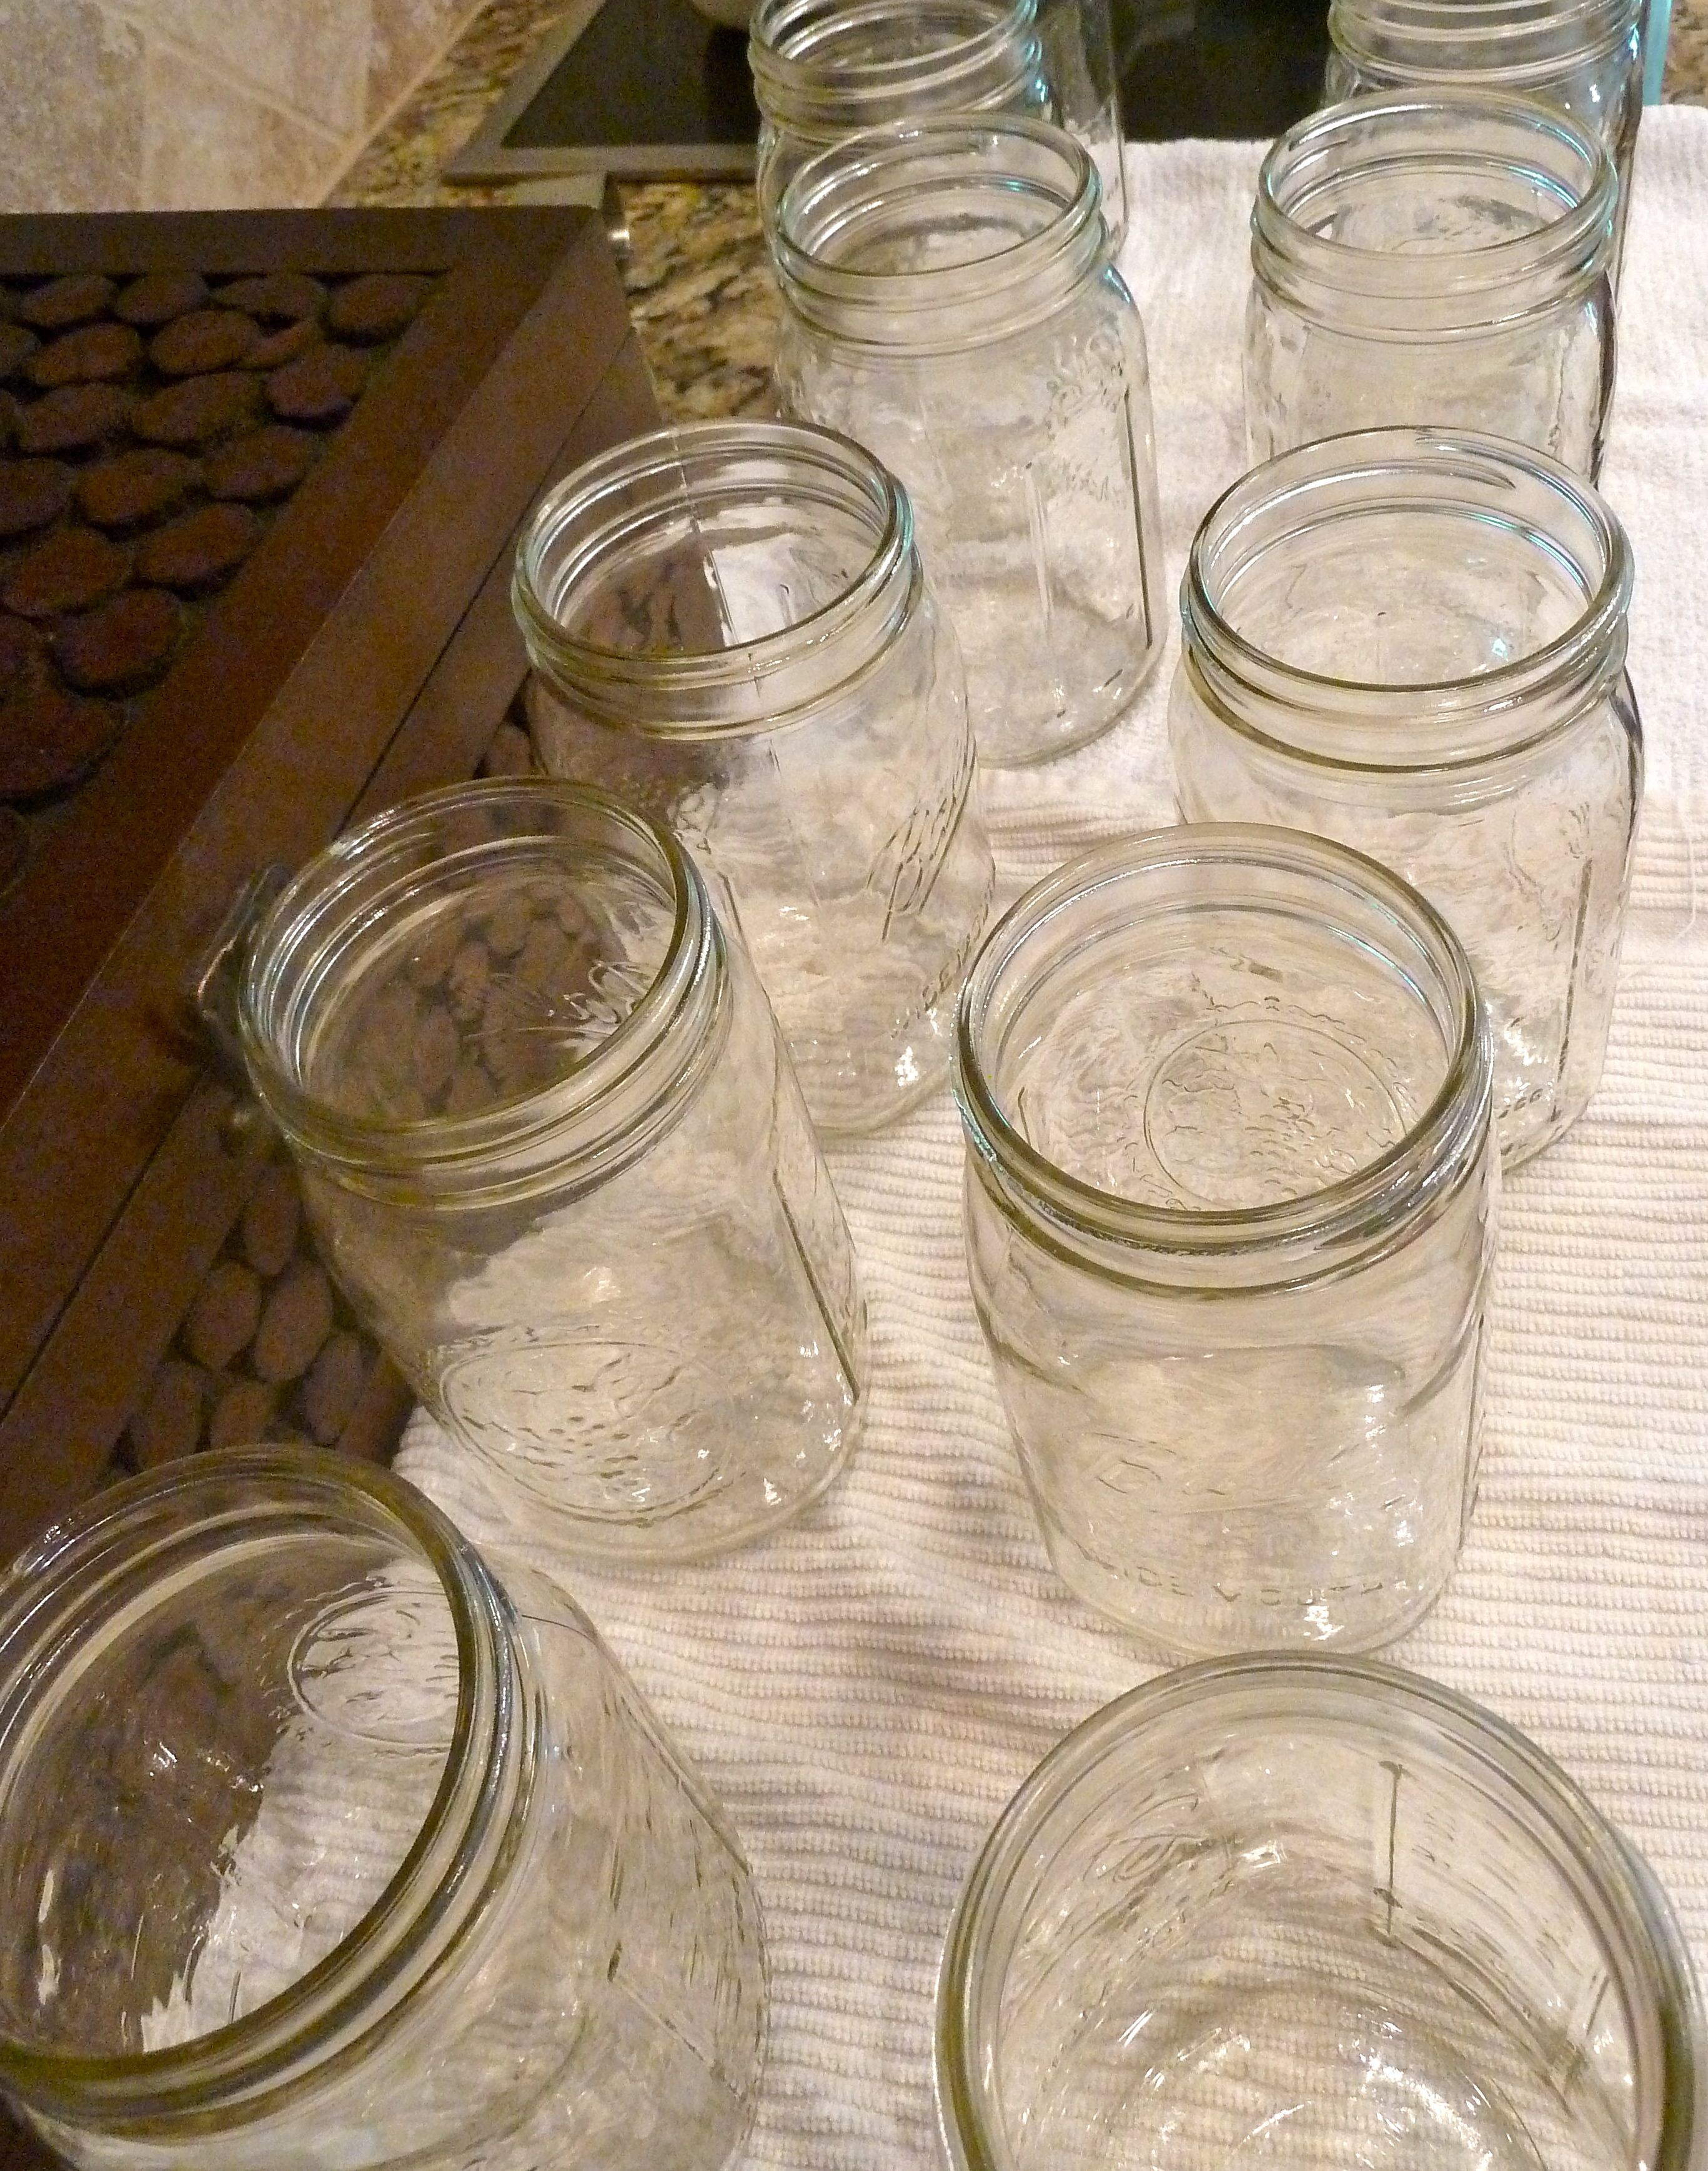
- 3 or 4 mason jars (1 quart each)
- food processor
- blender
- cutting board
- good vegetables knives
- 1-2 large bowls (you can also use a large stock pot)
- 1 small glass bowl and some honey for the culture starter (do not use a metal bowl or utensils)
- 1 large pot of boiling water, optional (for sterilizing all equipment)
- several clean kitchen towels
DIRECTIONS
- Fill a large pot with water and start heating to bring water to a boil. (Boiling water will be used to sterilize the mason jars!)
- While the water is heating, gather together all the equipment and vegetables. Trust me, this will save you a lot of time!
- Sterilize your mason jars and lids by placing in the boiling water for a few seconds. Using long tongs, dip each piece into the water. Set aside the jars and lids (right side up so that air can get in) on a clean towel for the water to evaporate.
- In a small bowl add a packet of Body Ecology culture starter to tepid (about 92 degrees) water. Follow the packet directions. Add in a 1 Tablespoon of sweetener such as honey, agave nectar or EcoBloom. Stir gently and set aside while the bacteria begin to multiply. Allow the culture started mixed with sweetener to sit for at least 30 minutes.
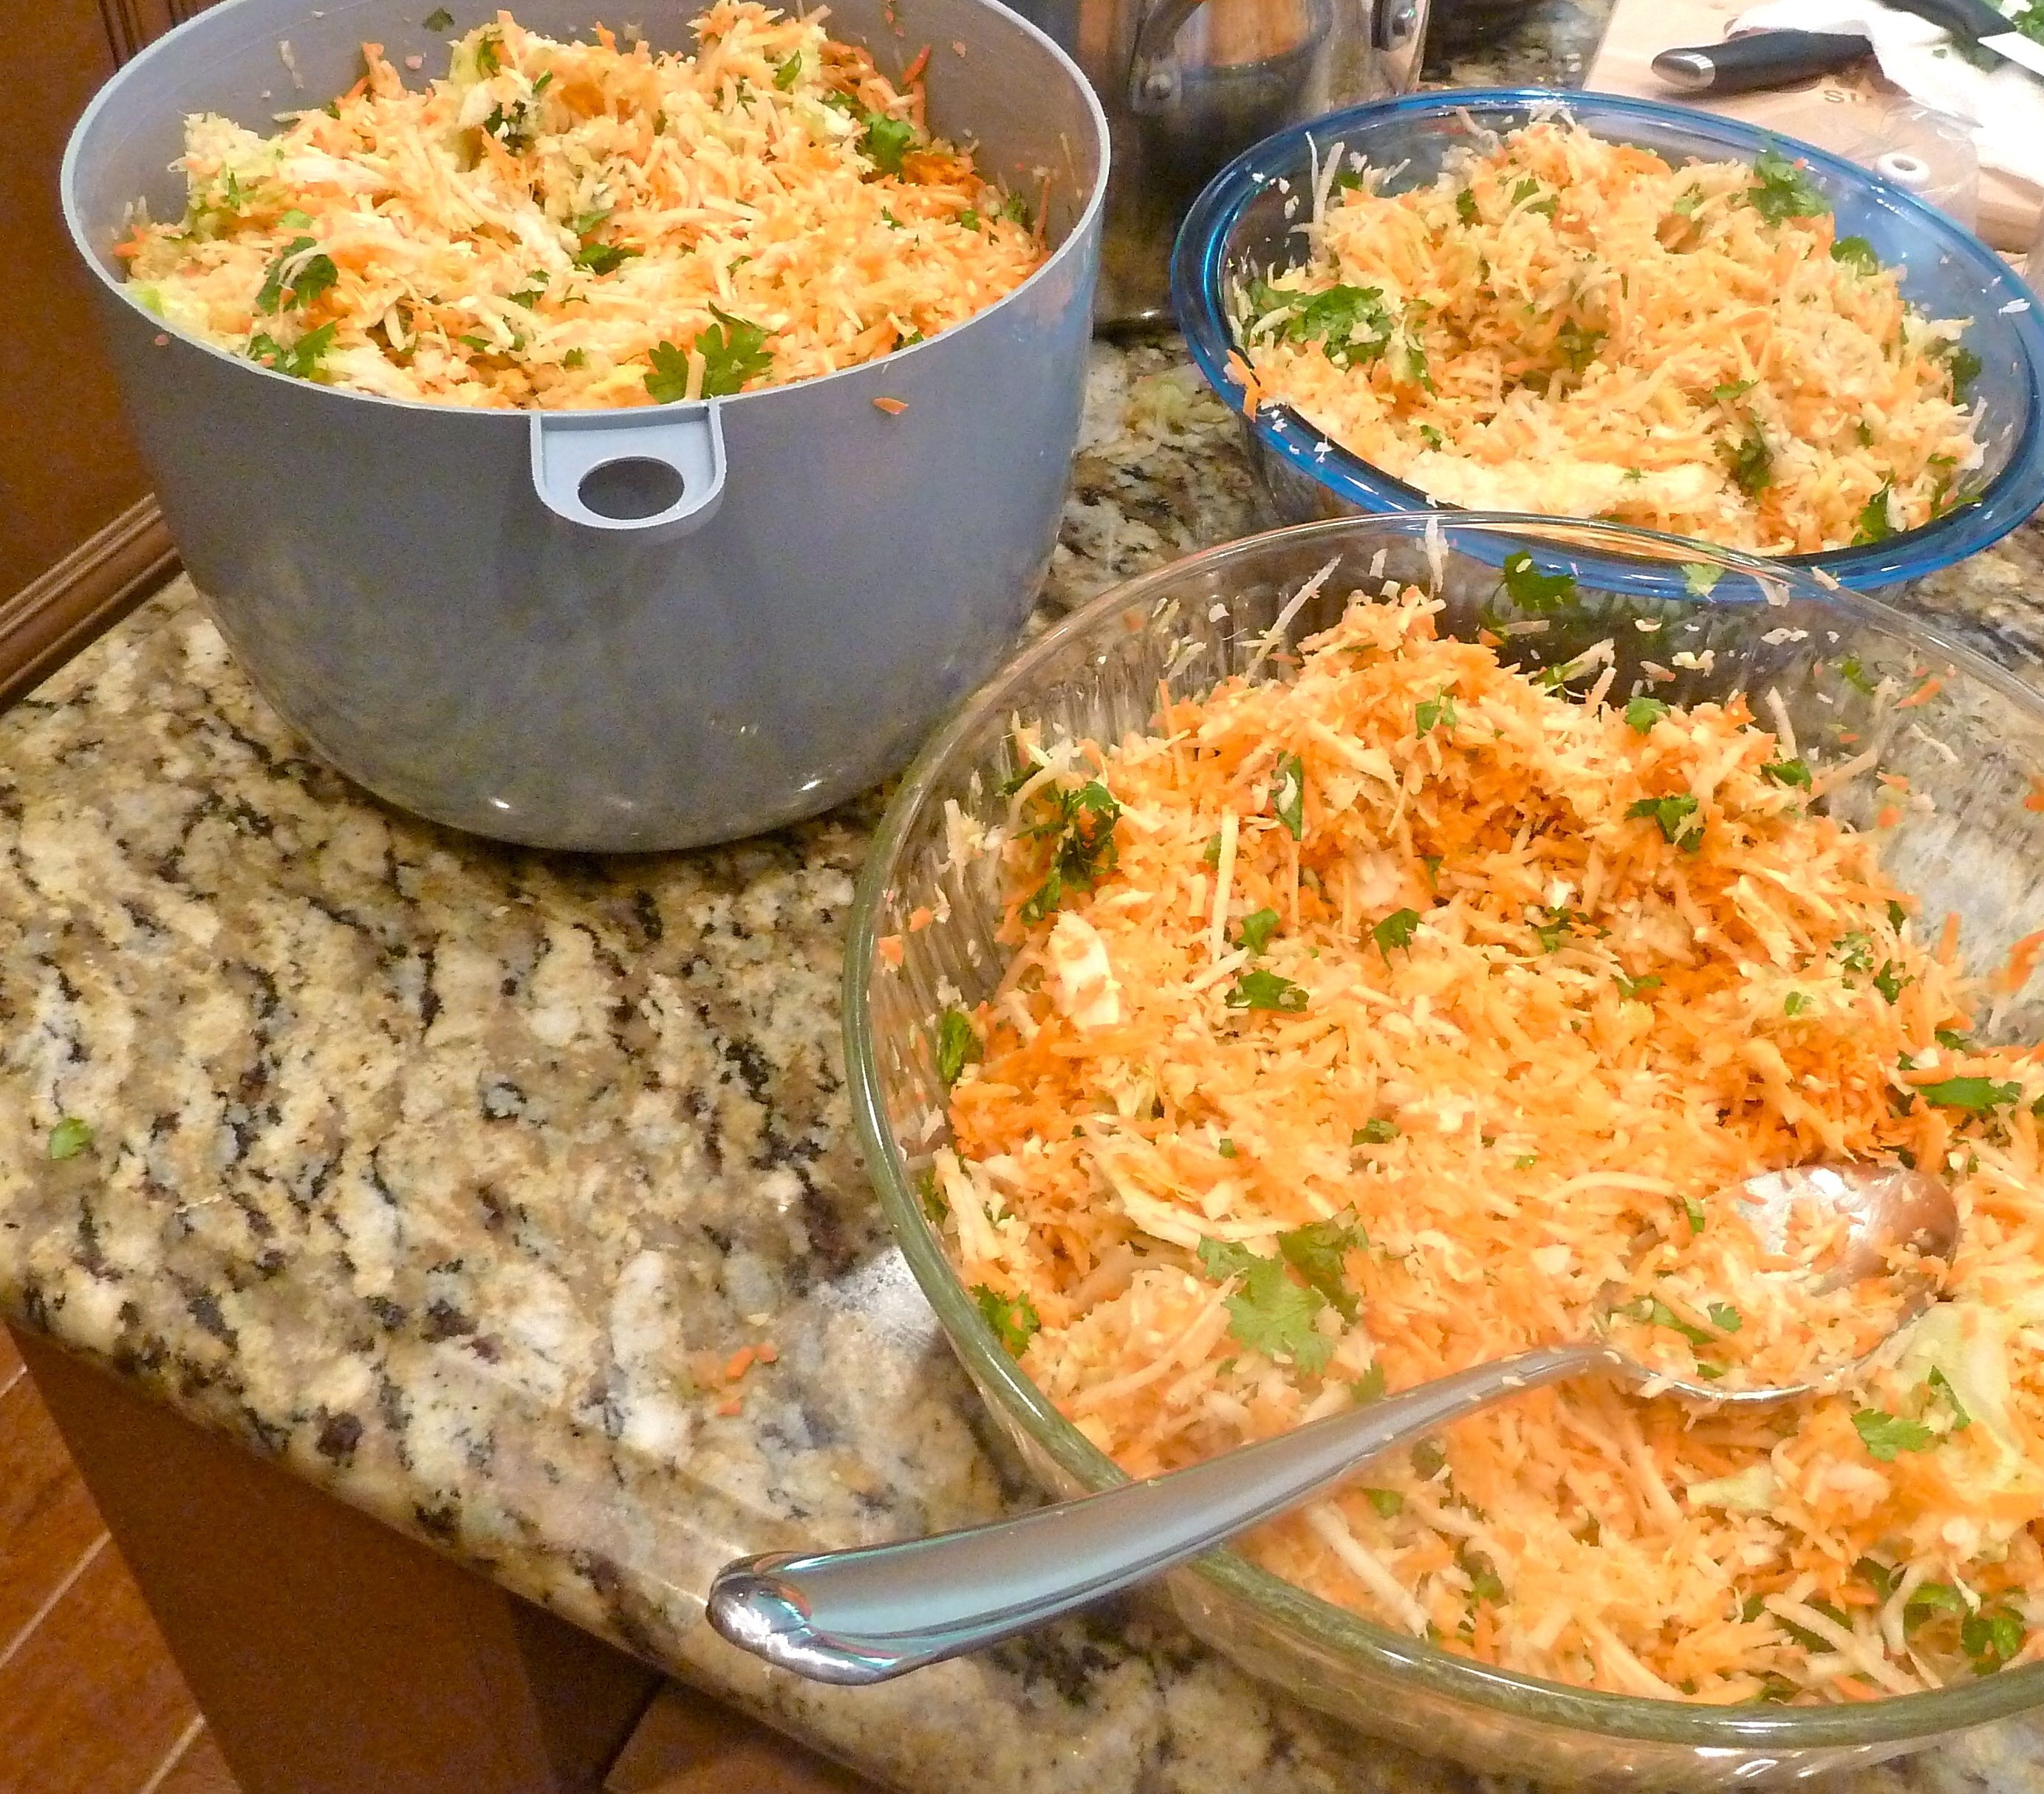
- Using your food processor with the grater/shredder attachment, grate the carrots, beets, sweet potatoes, onions, celery, and at least ½ to 1 whole head of cabbage. (Remember to save enough cabbage leaves, one for each jar of cultured vegetables.) Put the shredded veggies in the large bowl or multiple bowls.
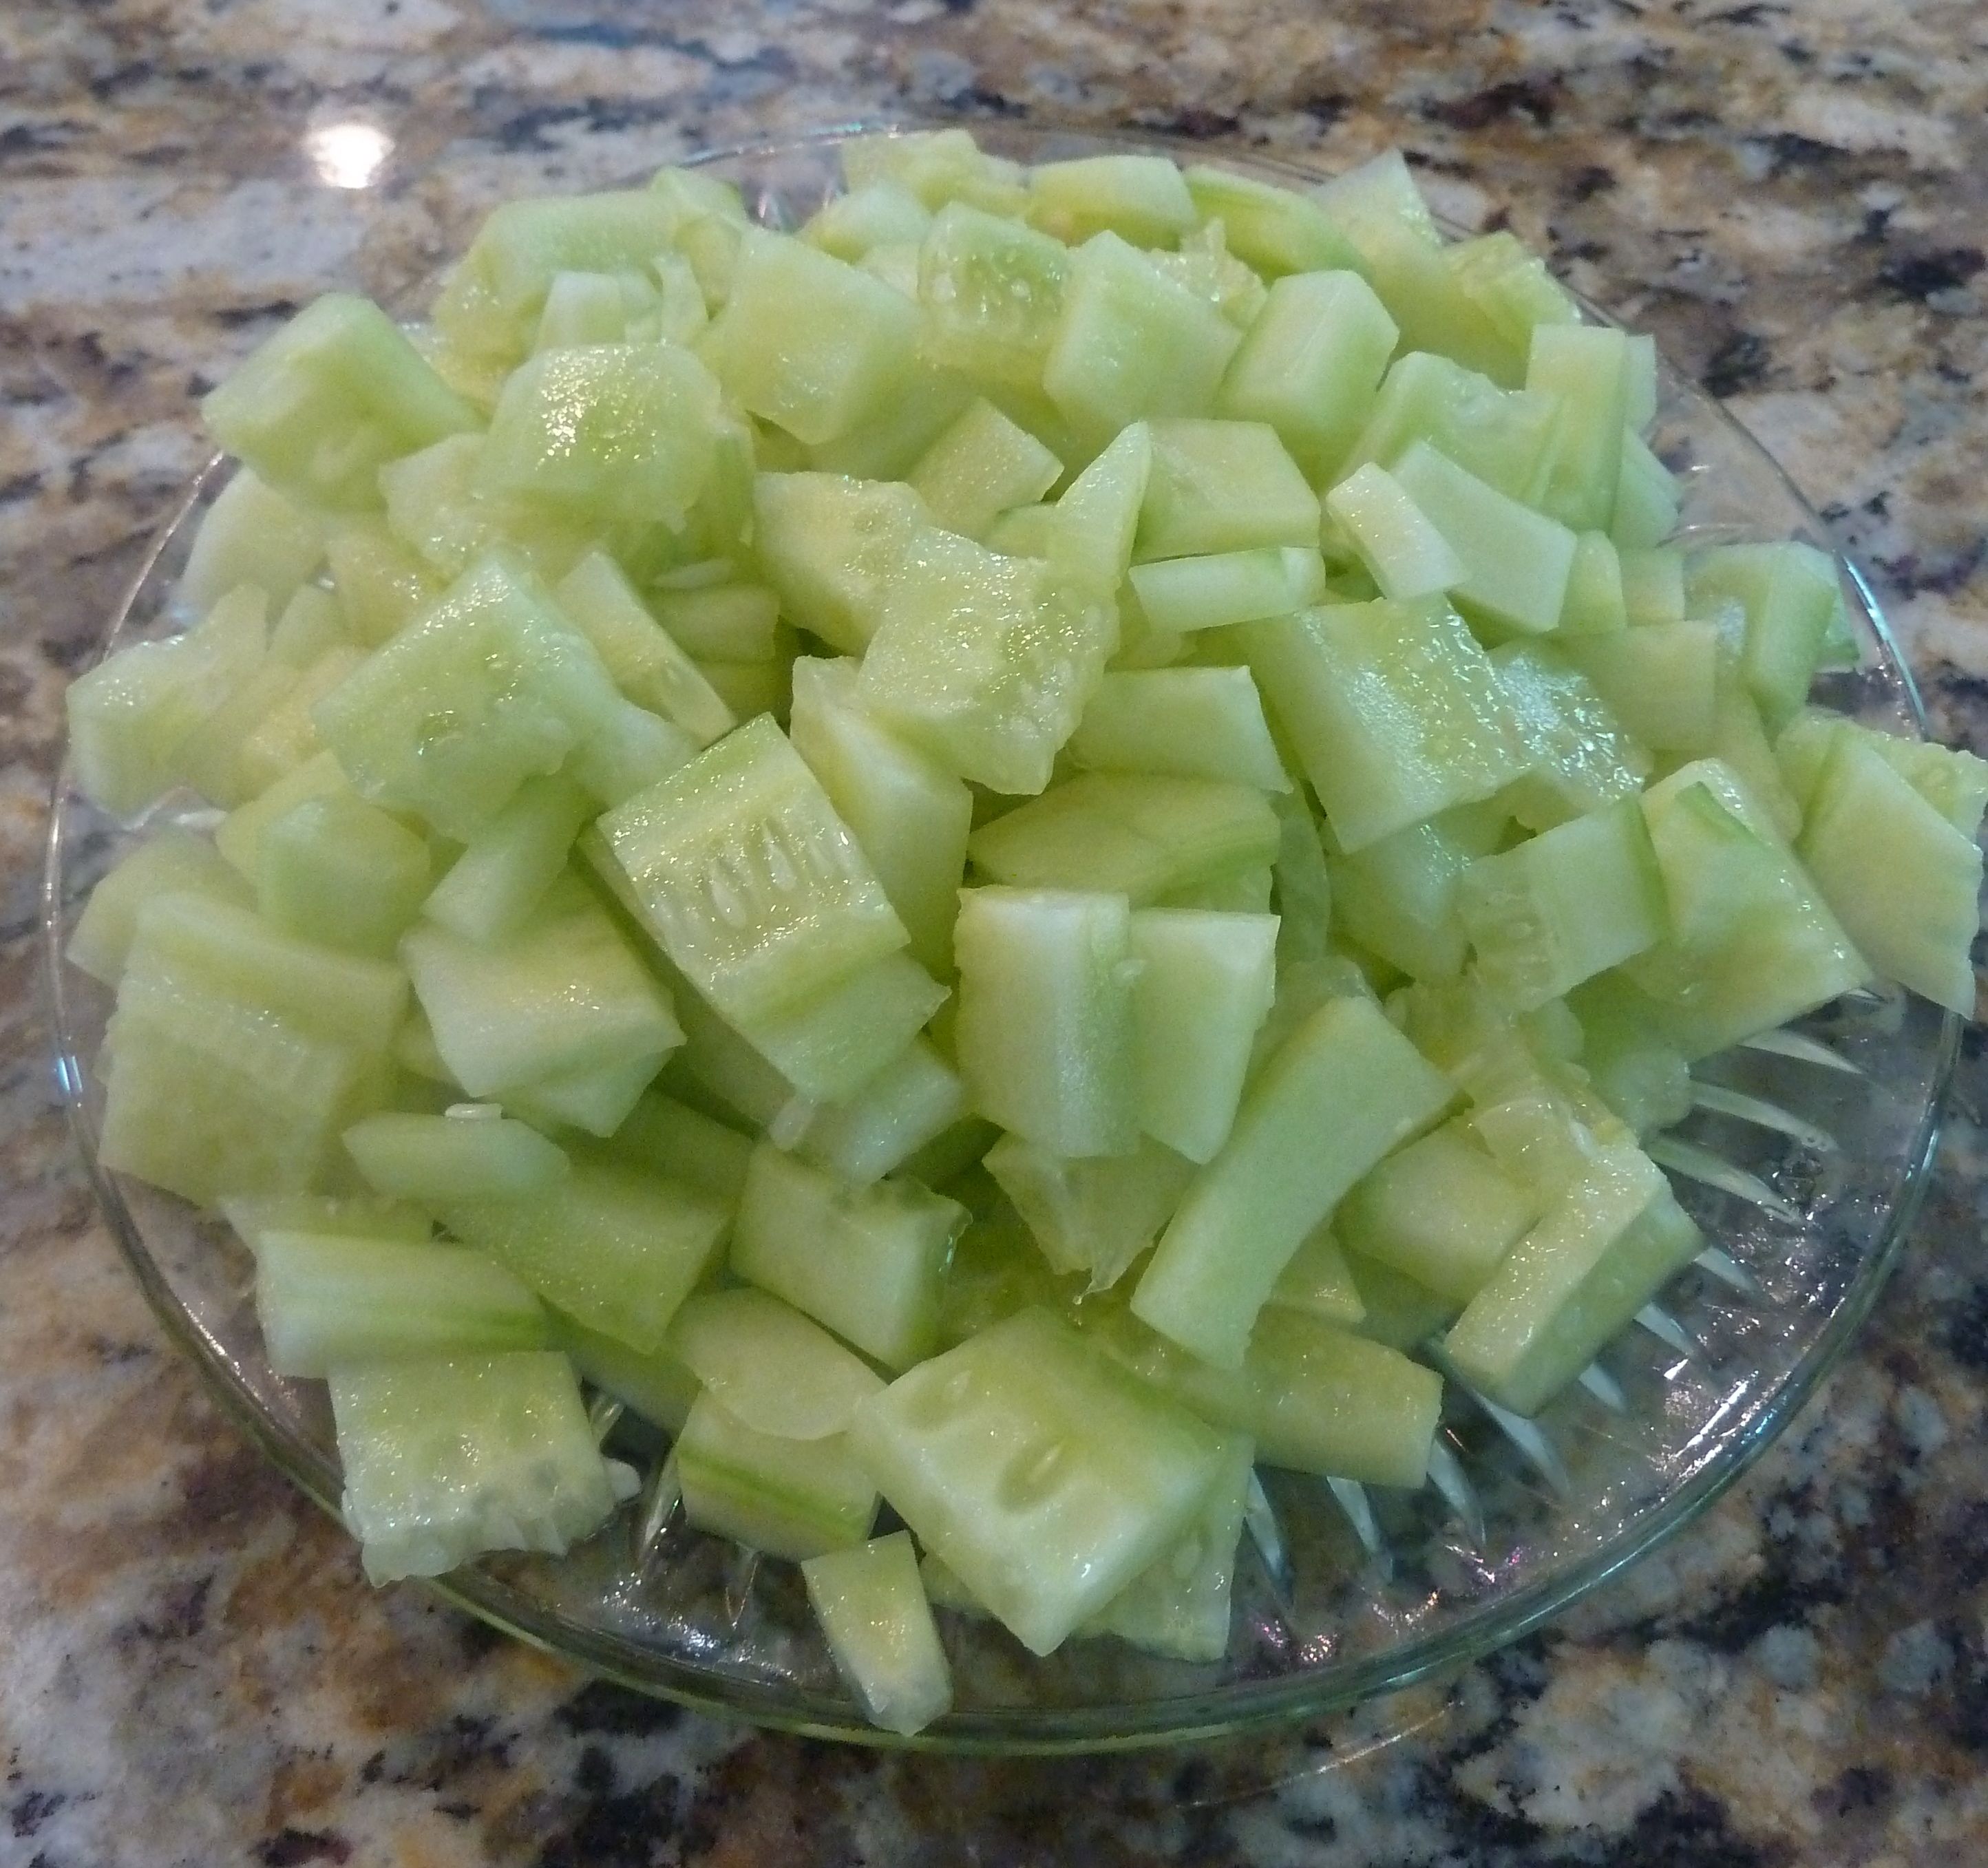
- Cut the cucumber into small ½ inch cubes and mix with the shredded veggies.
- Stir in the cilantro.
- Take out a 1/2 cup of the veggie mixture and put it in the blender with about 2 cups of distilled water. Puree the mixture to form a brine. Add the culture starter, if using, to the brine and mix well. Pour the brine into the bowl of vegetables and combine.

- Tightly pack the vegetables into the mason jars using your fist, leaving at least 2 inches of space at the top of the jars. Dip the cabbage leaves into some brine, roll them, and wedge them into the jars to force the shredded veggies below the surface of the brine. Twistthelidson to the jars very tightly.


- Set the jars in a dark place at room temperature for 5 days, undisturbed. After five days, try the veggies. If you want a stronger taste, leave the other jars at room temperature for up to 7 days. At the end of this time, wipe off the jars (some seepage or foaming may have occurred) and place in the refrigerator. The vegetables are ready for eating at this point, although they will continue to improve over time. They will keep for many, many months in the refrigerator.


Important – When stirring the starter culture, only use either a glass, wood, or plastic utensil to stir – never metal.
NOTE: If you choose to double or triple this recipe, you do NOT need to use multiple packets of the Body Ecology culture starter. Just one is all you need!
Delicious ideas for how to use your fermented vegetables:
1. As a side dish.
2. Added to salads.
3. As a sauce or topping.
4. On a wrap or sandwich.
5. As a dip.
6. As a condiment.
7. Use the juice to flavor soups and sauces.
8. Mix with avocado to make guacamole.
Diane Pierson
What quantity does this recipe make? I regularly get together with a group of friends to do fermentations. Next month is my turn to host so was thinking about doing this recipe. We usually do 2 different types of fermentation at each meeting. Anything with ginger is always a favorite of mine!
Jenice Stebel at Energy Healing Homeopathy
Hi Diane,
The Sunshine Blend recipe will fill about 6 quart mason jars, depending on the size of your vegetables. This is one of my favorites and it is always a crowd and kid pleaser. Please post again and let us know how it turns out if you choose to make it. Enjoy!!